Getting Started With
Creating Your Enivi
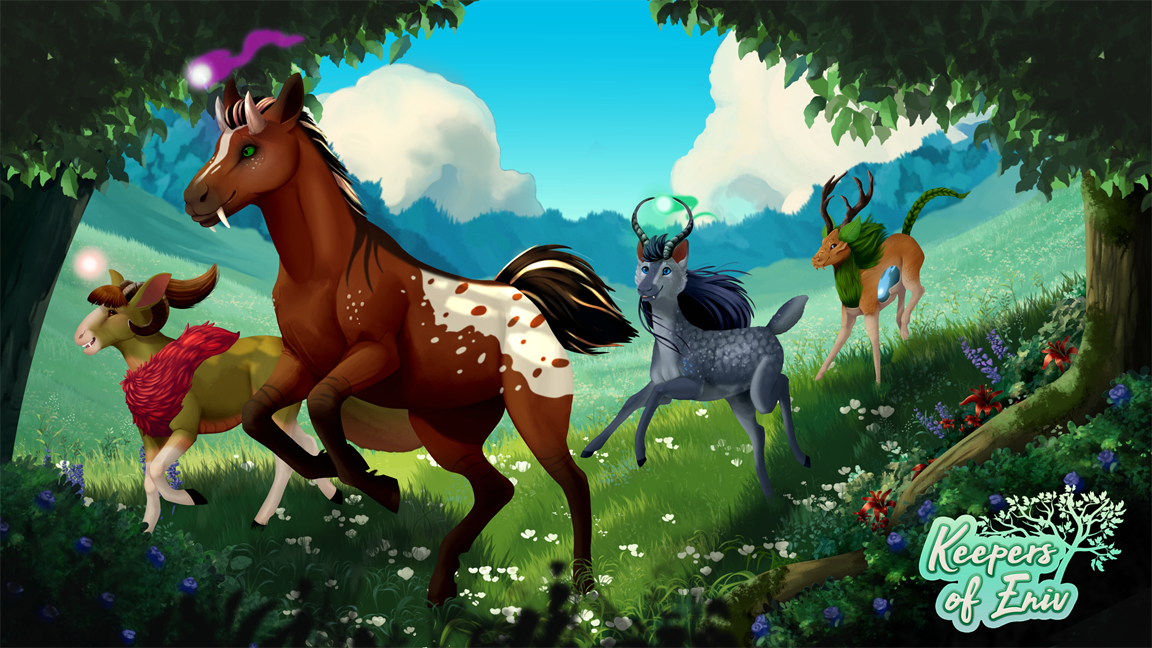
What is an EnivI?['enēve-e'](paste into reader to hear) Enivi, the mystical inhabitants of the world of Eniv, are abound with magic and charm. Now, let's delve into the process of bringing your very own Enivi to life!
Choosing your herd
|
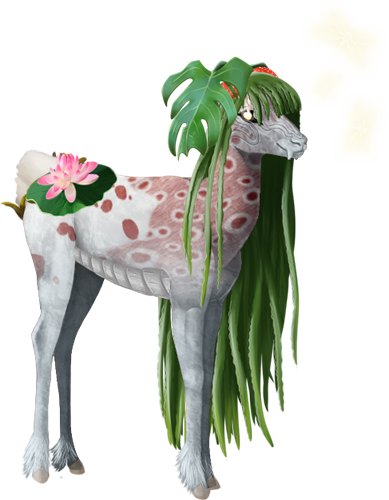
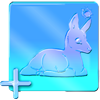
 Lunaesi
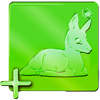
 Ortusi
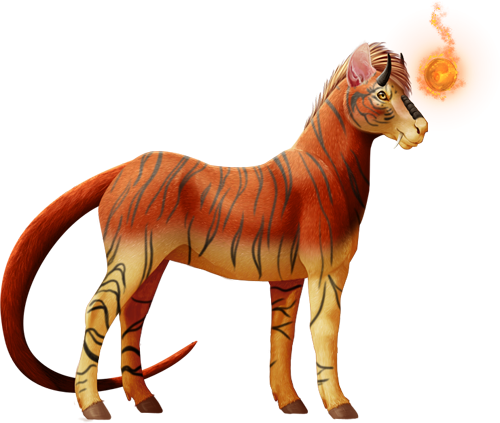
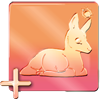
 Vespiri
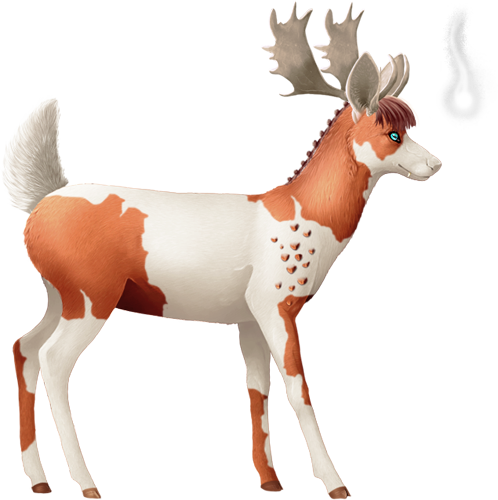
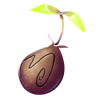
 Druaesi
Druaesi are a rare herd that can only be made with an "Ancient Sprout". |
To learn more about the Druaesi and their culture, click here!
Herd Checklists
Use Herd Checklists to ensure your Enivi meets the required traits for each herd before submitting your character.
These handy guides provide a comprehensive list of traits needed for approval, ensuring your Enivi fits right in with its chosen herd!
[ Druaesi Checklist ] [ Lunaesi Checklist ] [ Ortusi Checklist ] [ Vespiri Checklist ]
Character SlotsBreathing life into your new Enivi begins with your Character Slot Token!
Activating Character SlotsTo activate your Character Slot using your token, begin by navigating to your Inventory. You can find this in the navigation bar under My Activity. 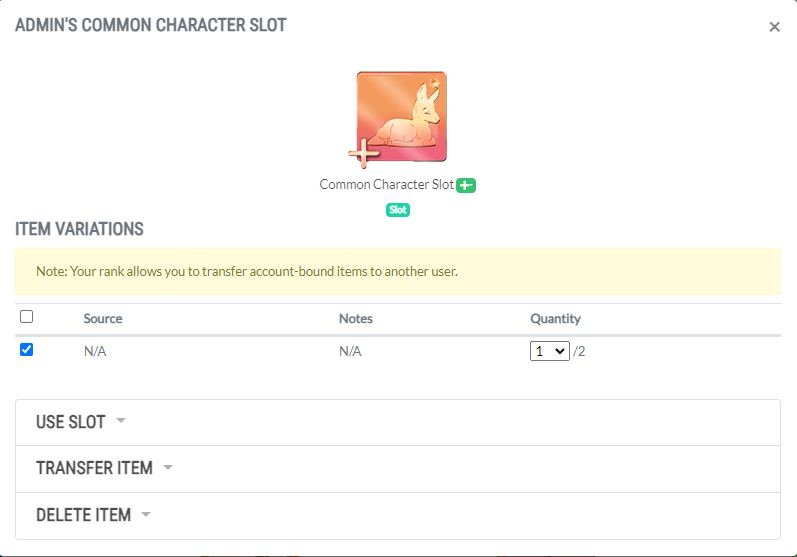
Next, open the "Use Slot" acordion menu and click the blue "Open" button. 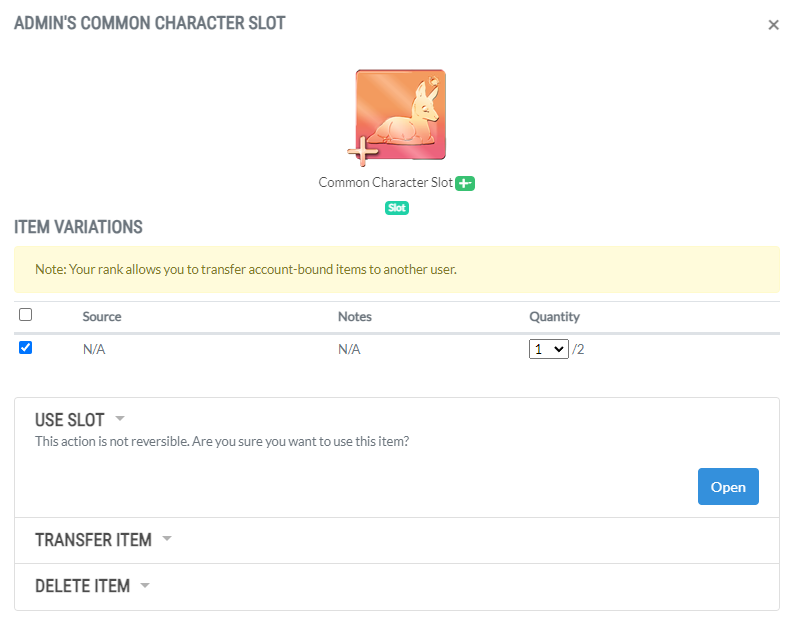
Once you click Open, your page will refresh and you'll be greeted with a message at the top of your page stating that your character slot has been created! |
Creating Your First EniviNow that your Character Slot is activated, you have several options for creating your Enivi. Seeking more freedom and additional options? Let your creativity run wild! Character Creator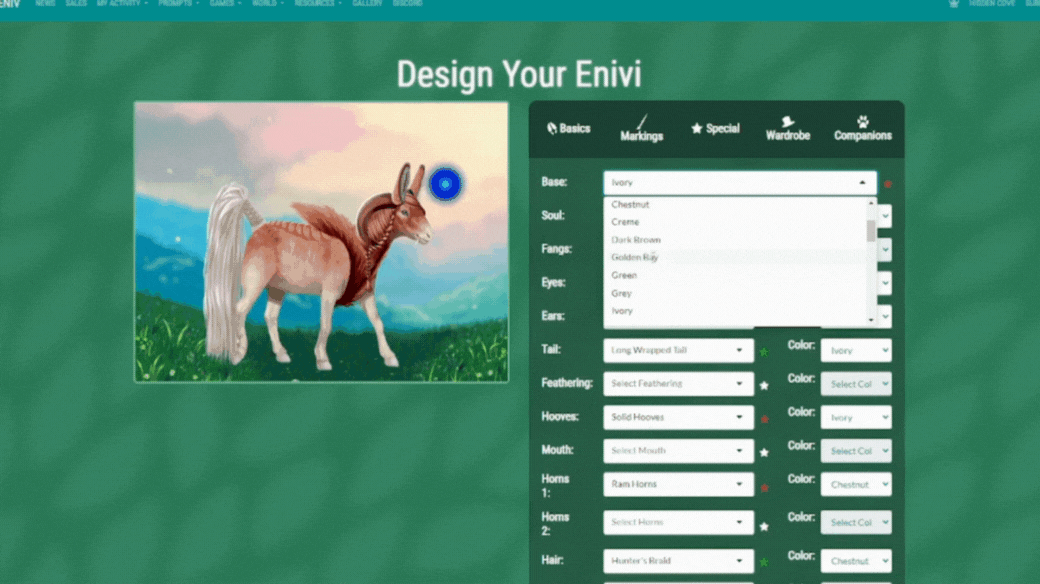
The Character Creator offers a delightful way to craft your Enivi, eliminating the need for art programs or color shifting on your own. Begin by exploring each herd's unique qualities by clicking on their respective icons. Once you've made your selection, hit the green "Confirm" button to proceed. Then, dive into designing your Enivi by browsing through bases, traits, markings, accessories, and companions. Remember to consider the limits of your Character Slot Token as you customize your Enivi, ensuring you have the necessary items for any additional traits, accessories, or companions you want to include. Once your design is complete, it's time for a final check against the Enivi Herd checklist: [ Druaesi Checklist ] [ Lunaesi Checklist ] [ Ortusi Checklist ] [ Vespiri Checklist ] Finally, you have two options to finish your design. 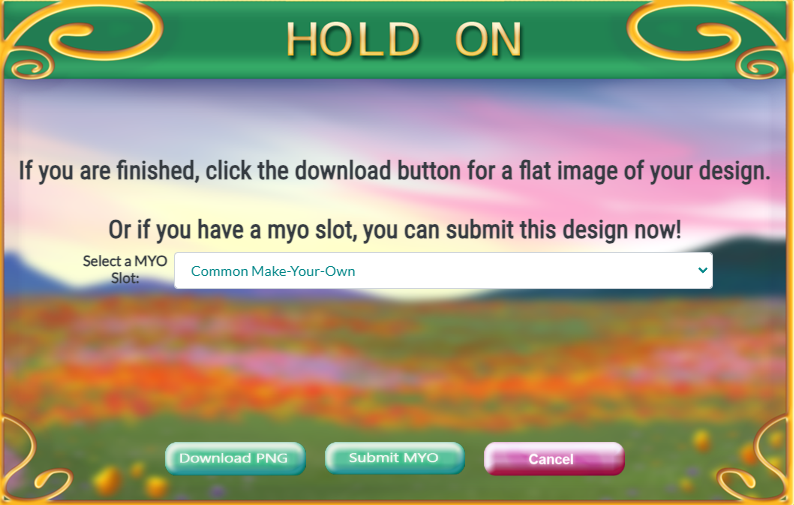
Once you're ready to finish your character , go to the "Submitting a New Character" section below.
Character Creator With EditsAnother exciting option to go with the character creator is to finalize your design and then fine-tune any clipping issues or make additional adjustments using your preferred digital art software! Start by addressing any traits that may be causing awkward clipping. For instance, in our Vespiri example below, the Spiral Horns were overlapping oddly with the ears and hair, so we opted to remove them entirely from this first version. 
 Each accordion menu opens an assortment of colors available for each herd, along with the corresponding files. Note that some traits feature only front files, while others include back files, and a few need both front and back files for proper display. Be careful to make sure you're getting all the files you need. Once you've got your files, bring them over to your Enivi and clean up any spots where they're overlapping. Then, give your Enivi a bit of a touch-up by fixing any little marks left from layering or clipping. Just remember, no stretching or warping those traits – let's keep things looking sharp and clean! 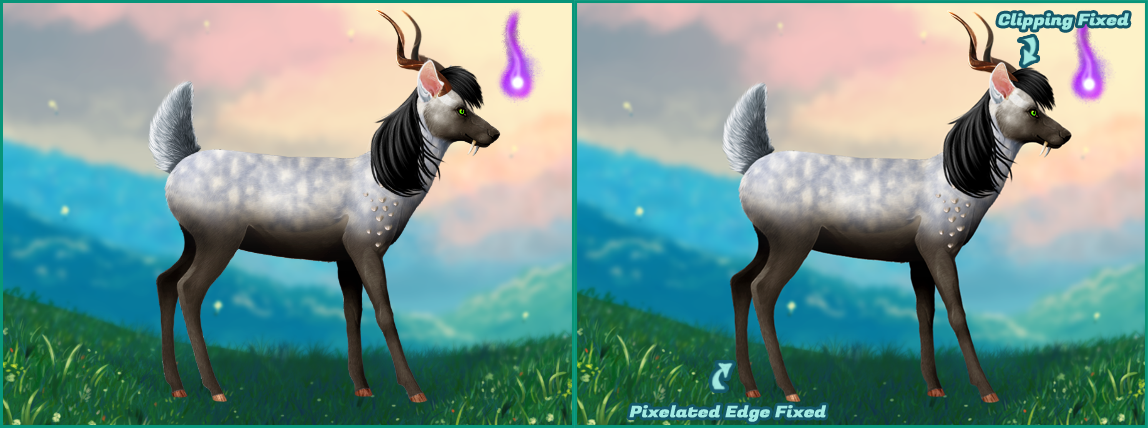 For our image, we've fixed the clipping issues and cleaned up some small artifacts around the legs created by layering the traits. Once you're finished, save your image and move on to the steps in the Submitting a New Character section.
Creating Your Character By HandCrafting custom markings by hand is an opportunity to unleash your creativity and create a one-of-a-kind Enivi! Check out these inspiring Enivi with stunning custom markings: 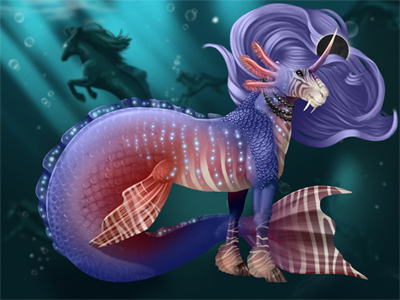  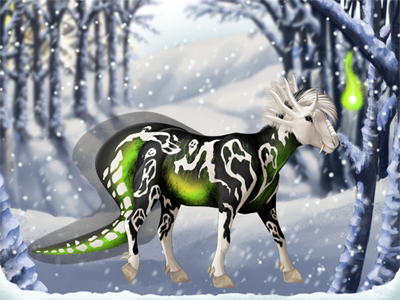
Sometimes custom designs can be as simple as color-shifting the existing traits, or as complex as the designs showcased above, it's really all about your preference and your Enivi's personality! How To Get Rarer TraitsReady to elevate your Enivi to new heights? 
Some traits are a bit trickier to snag and require a bit of adventure! You might stumble upon them while foraging or crafting, or even by munching on some Mysterious Slime you find while out for a run. Once you have your new traits, you'll want to follow the steps in Updating your Enivi to add the new trait to your Enivi's design. |
Submitting a New CharacterWhether you've used the character creator or designed your character by hand, once you've designed your character and have your final image, you're ready to submit your character! Accessing your Character Token Slots
To begin, access your Character Token Slot by navigating to 'My Activity' and selecting 'Character Slots.' If you don't see any active slots, you may need to activate them in your inventory. Finally, hit the blue 'Create Request' button to submit your character. Filling Out The TabsWhen you first land on the next page you'll find five tabs that need to be completed before you can submit your character.  STATUS The "Status" tab is the start and end of your venture. COMMENTS The "Comments" tab lets our staff know what you're doing with your request. MASTERLIST IMAGE Now onto the "Masterlist Image" tab, where you get to showcase your Enivi in the character directory and their profile! Feel free to credit yourself as the Designer if you've brought your Enivi to life, and if someone else lent their artistic talents, be sure to give them a shoutout! At the bottom of the page, you'll spot a toggle labeled "Alternate Images". Once everything looks just right, hit that blue "Save" button and glide over to the "Add Ons" tab. ADD ONS Now, let's dive into the "Add Ons" tab, where you can sprinkle some extra charm onto your Enivi. TRAITS We're on the final stretch now, just a few more steps to go! We're almost there! STATUS As we've completed our journey through each tab, you should now see a green circle beside each one instead of that red "x". With everything in shipshape, it's time for the grand finale: click that "Submit Request" button! Congratulations! Our dedicated staff will give it a once-over shortly. Once it's given the green light, you'll be all set to embark on your Eniv adventure! Staff Approval ProcessWe value your time and strive to keep wait times short for Enivi submissions. We genuinely appreciate your patience and understanding! |
Updating EniviAs time goes by, your Enivi's journey will evolve, and so will their appearance! Adding AccessoriesAdding accessories to your Enivi is a breeze with these simple steps! For Enivi with custom markings, downloading accessory image files follows a similar process to trait images. You can find an item's entry by navigating to the encyclopedia under Resources, selecting "All Items," and searching by name. Wearable items in the encyclopedia display an accordion menu, allowing you to save the file by herd and color. Now, let's move on to the "Alternate Images" section to learn about uploading your Enivi's updated image. Adding Or Changing TraitsUpdating your traits starts with updating your Enivi's image file. When using the character creator, ensure you select the "Download PNG" option instead of submitting a new character. Next, head to your Enivi's profile and select "Update Design" from the vertical menu on the left-hand side. Then, click the blue "Create Request" button. COMMENTS In the "Comments" tab, share with our friendly staff the exciting updates you've made to your Enivi! MASTERLIST IMAGE In the "Masterlist Image" tab, you can showcase your Enivi's fresh look! If you've poured your creativity into this update, go ahead and credit yourself as the Designer. However, if someone else lent their artistic touch to your Enivi, be sure to give them credit where credit is due! Remember, toggling "Alternate Image" to "Off" ensures your Enivi's profile picture is up-to-date and ready to shine. Once everything looks perfect, simply click the friendly blue "Save" button before galloping over to the "Add Ons" tab. ADD ONS In the "Add Ons" tab you can select any items from your inventory you may need to attach if you used them to update your Enivi. TRAITS In the "Traits" tab, you'll see all your Enivi's existing traits already filled out. When you're finished, click the blue "Save" button and head back to the "Status" tab. STATUS Back at the "Status" tab again, you'll be able to click the "Submit Request" button to have your updates reviewed by a staff member! Remember, each request is hand-reviewed by our staff, and can take up to 3 days to process. Alternate ImagesWant to show off your Enivi's fancy new look? Or does your Enivi have a hairstyle or wings that block their markings? To create an alternate image, start by making and saving your image to your computer. Keep in mind that even alternate images must be created with site-approved assets. 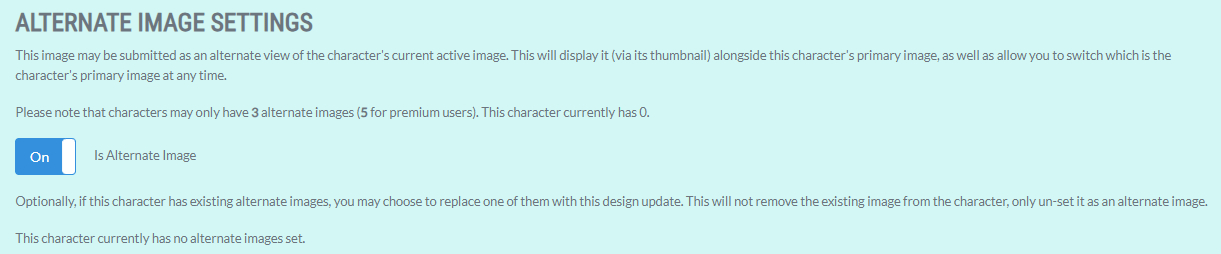
To choose which image is shown on your Enivi's profile, click to their profile, then click "Edit Profile" in the vertical menu on the left-hand side. Scroll to the bottom of the page and you'll see a section called "Active Image". Congrats! You've updated your Enivi's active image and set an alternate image on their profile! |
Still Need Help?Having a little trouble and still need some help? Not to worry, our friendly community is only a click away!  We can't wait to see you there! |